Bluetooth Low Energy remote control for Spotify
August 20, 2018
Bluetooth Low Energy remote control for Spotify on macOS with Node.js and AppleScript.
Description
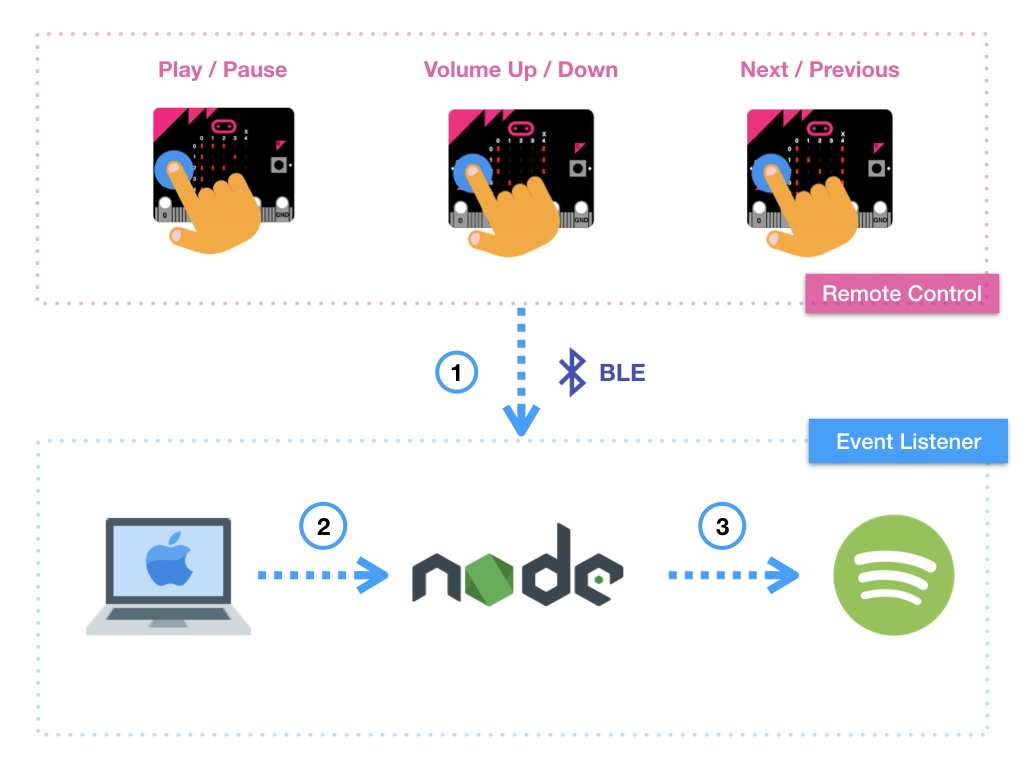
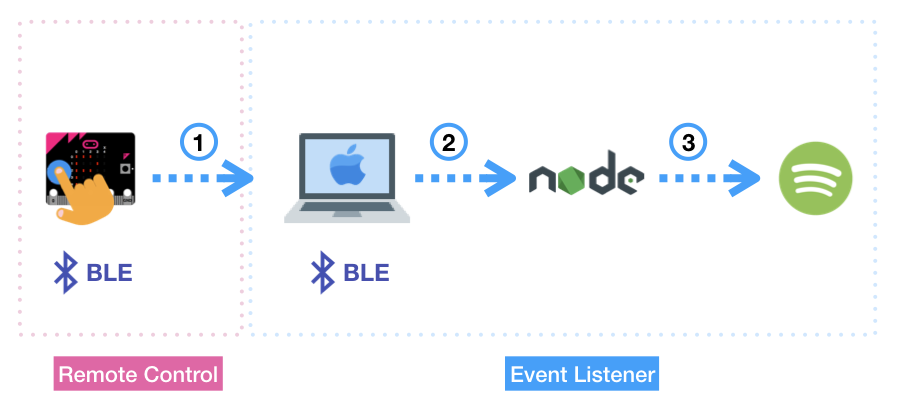
This project allows you to configure your micro:bit to work as a Bluetooth Low Energy (BLE) remote control to control an instance of Spotify running on macOS with Node.js and AppleScript. Users can use micro:bit to perform several actions like play or pause tracks, turn volume up or down and go to next or previous track. To carry out this actions, a custom event with a specific value for each action is raised over BLE when the micro:bit buttons are pressed by the user. The events raised by the micro:bit are catched by a Node.js script that is running on a computer with macOS.
The project is composed by two pieces of software:
- the remote control, that is the software that runs on the micro:bit.
- the event listener, that is the software that runs on your computer.
Video
How it works
-
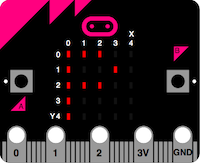
In this diagram the micro:bit is ready in the Play state, this is known because the micro:bit is showing the letter
Pon the LED screen. An user press theAbutton and then a custom event is raised over BLE, with an specific value to indicate that we want to play or pause a track on Spotify. -
The event listener is a Node.js script that is running on the computer and is waiting for the events raised over BLE by the micro:bit device.
-
When a custom event is catched by the Node.js script it uses the API of the spotify-node-applescript package in order to control the instance of Spotify running on the computer.
Remote Control details
States
The micro:bit device can be in one of a finite number of states at any given time. The list of available states are the following:
| micro:bit’s LED screen | State | Description |
|---|---|---|
 |
Disconnected | The micro:bit device is not connected with the computer via BLE. |
 |
Connected | The micro:bit device is connected with the computer via BLE. |
 |
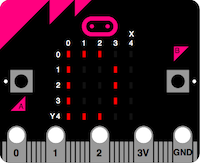
Play | The micro:bit device is ready to play or pause a track. |
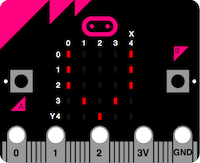 |
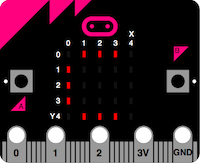
Volume | The micro:bit device is ready to turn volume up or down. |
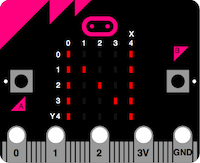 |
Next | The micro:bit device is ready to go to next or previous track. |
Inputs
The state machine can change from one state to another in response to external inputs. In our project there are two possible inputs:
| Input | Description |
|---|---|
| BLE | When the micro:bit establishes a BLE connection with a computer. |
| AB | When the micro:bit buttons A and B are pressed together. |
Transitions
The change from one state to another is called a transition.
State machine diagram
The state diagram for the project can be modeled as follows:
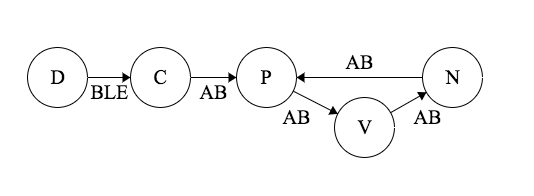
Where each state is represented by a node (circle) and the edges (arrows) show the transitions from one state to another. Each arrow is labeled with the input that triggers that transition.
Actions
The actions that users can perform to control Spotify via BLE are:
- Play or pause tracks.
- Turn volume up or down.
- Go to next or previous track.
To run these actions the micro:bit device needs to be in one of these states:
- P (Play).
- V (Volume).
- N (Next).
When the micro:bit is in one of these states the user can press the A or B buttons in order to raise a custom event to control Spotify. This table shows what are the different possibilities that an user can perform.
| Input \ State | P | V | N |
|---|---|---|---|
Press A button |
Play or pause track | Turn volume up | Go previous track |
Press B button |
Turn volume down | Go next track |
No pairing security
Although this script is using BLE there is no need to pair your micro:bit with your computer. In order to get this, the pxt.json file has been configured as follows. The property of the bluetooth json object called open has been configured with a value of 1 which means no security.
"yotta": {
    "config": {
        "microbit-dal": {
            "bluetooth": {
                "open": 1
            }
        }
    }
}
How to build and deploy the remote control
-
Install node.js.
-
Install the PXT (Microsoft Programming Experience Toolkit) command line tool with
npm.
npm install -g pxt
- Clone this repository to your computer.
git clone https://github.com/josejuansanchez/microbit-ble-spotify.git
cd microbit-ble-spotify
cd ble-remote-control
pxt target microbit
- Install the required PXT packages for this project (
coreandbluetooth). The dependencies of the project are defined inpxt.json.
pxt install
-
Connect the micro:bit to your computer via USB.
-
To build and deploy the project, execute
pxtwith no arguments or runmake. Doing this, PXT will compile and link the code into an.hexfile and will deploy it into your connected micro:bit.
pxt
When you run the pxt command, you will see a similar message to this:
Using target PXT/microbit with build engine yotta
  Target dir:   /microbit-ble-rc-spotify/node_modules/pxt-microbit
  PXT Core dir: /microbit-ble-rc-spotify/node_modules/pxt-core
running 'pxt deploy' (run 'pxt help' for usage)
Package built; written to binary.hex; size: 605847
copying binary.hex to /Volumes/MICROBIT/
   wrote hex file to /Volumes/MICROBIT/
Now, your micro:bit device is ready to work as a remote control for Spotify on macOS with Node.js and AppleScript. The next step is to run the ble-event-listener script to listen to the custom events raised by the BBC micro:bit over BLE.
Compiled Firmware
The compiled firmware is available in the resources/firmware folder of the project. If your want you can avoid the build process and copy the .hex file to micro:bit disk drive.
How to run the event listener
- Go to
ble-event-listenerdirectory.
cd ble-event-listener
- Run the Node.js script:
node index.js
When you run the script, you will see a similar message to this:
Scanning for micro:bit...
Now, your event listener is ready to accept BLE connections from a micro:bit device.
GitHub
The source code of the project is available in GitHub.
Hackster.io
This post is also available in Hackster.io.
Packages used in this project
References
- How to switch off the need to pair your micro:bit when using Bluetooth. Martin Woolley.
- Finite-state machine. Wikipedia.